In this Rocket League guide, we'll explore how to score every single type of freestyle in Rocket League, starting from the easiest shots to what might be the hardest shot in the history of the game. You'll see the complete progression of what's possible in the world of freestyling and just how complex it can get. By the end of this guide, you'll theoretically know how to score a quad flip reset. We'll break up all the shots into three different phases:
-
Phase One: Easiest shots
-
Phase Two: Intermediate shots
-
Phase Three: Advanced shots
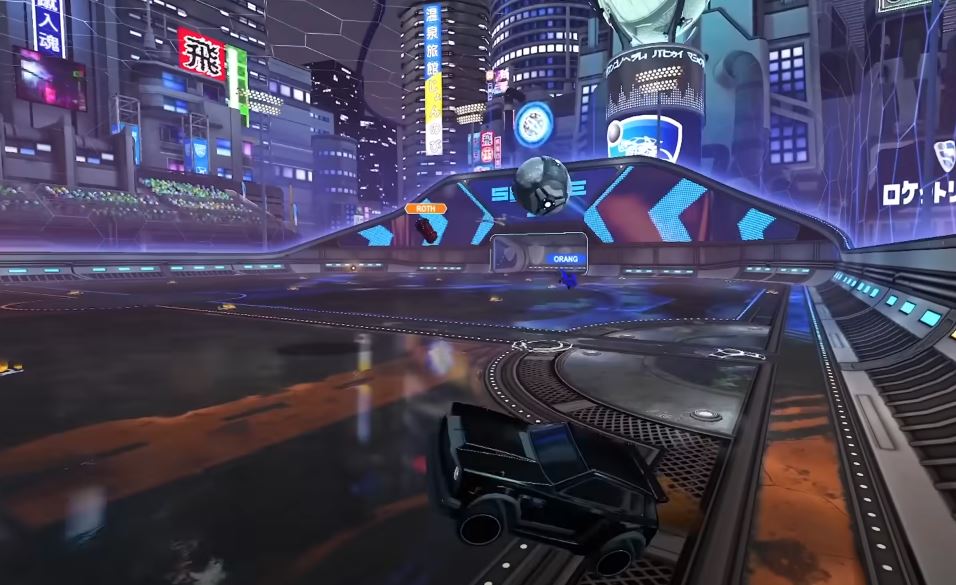
Before we dive in, make sure to subscribe to the channel and hit the like button so more people can learn how to freestyle.
Phase One: Easy Freestyle Shots
1. Understanding Spins
To score every type of freestyle, you need to understand that almost all of these shots involve spins. Without spinning or adding some type of flashiness, these shots go from being freestyles to just mechanics. So, whenever you can, air roll your car and add some spins to make it a real freestyle.
2. Air Dribble
-
Setup: Let the ball roll up the wall and follow closely behind.
-
Execution: Match your car to the speed of the ball, jump off the wall as soon as your car hits the ball, and use your boost to air dribble the ball towards the net. Don't forget the spins!
3. Flip Reset
-
Setup: Similar to the air dribble setup.
-
Execution: Fly up from under the ball so all of your car's wheels touch it. Air roll into it for momentum, and after you get the reset, it's up to your imagination what to do next.
4. Double Tap
-
Setup: Roll the ball up the wall with more speed and at a more slanted angle.
-
Execution: Tap the ball off the wall, wait a bit before jumping off, then use your second flip to send the ball to the backboard to finish the double tap.
5. Ceiling Shot
-
Setup: Similar wall setup as the air dribble.
-
Execution: Drive up the ceiling, let your car fall off, and air dribble the ball towards the net using the flip whenever you want. Different ways to get to the ceiling include jumping off and flying up after tapping the ball on the wall.
6. Musty Flick
-
Execution: Dribble the ball on the hood of your car, jump, lean forward, and flip backwards. Alternatively, lean backward first, then flip backward. This move can be combined with other freestyle shots.
Phase Two: Intermediate Freestyle Shots
1. Ceiling Musty
-
Setup: Same as a ceiling shot.
-
Execution: Air dribble towards the net, tilt your car back and use a backflip to hit a musty.
2. Breezy Flick
-
Setup: Similar to a musty flick.
-
Execution: Dribble the ball on the roof, jump, air roll to one side while turning your car to the opposite side, stop air rolling but keep turning until the rear of your car points at the ball, then perform a musty flick.
3. Ceiling Pinch
-
Setup: Take the ball up the wall at max speed.
-
Execution: Tap it off the wall, air dribble it up to the ceiling, and time your pinch to direct the ball towards the net.
4. Double Reset
-
Setup: Diagonal flip cancel into the reset.
-
Execution: After the first reset, position yourself behind the ball in line with the net for the second reset. Practice timing in a training pack.
5. Team Freestyle
-
Setup: One player takes it up the wall while the other comes from a different area, usually off the ceiling.
-
Execution: The first player passes to the second player, who then scores.
6. Ground Pinch
-
Setup: Use a Dominus car.
-
Execution: Take the ball up the wall vertically, jump to the ceiling, match the speed of the ball, then front flip cancel into the ball.
7. Pogo
-
Setup: Often set up from the ceiling or off a flip reset.
-
Execution: Lean your car forward and at a slight angle to hit the ground with the corner of your car, causing it to bounce back up while retaining your flip.
8. Backboard Reset
-
Setup: From a ground to air dribble.
-
Execution: Squish the ball into the backboard using your wheels to get a reset, then use the flip to score.
9. Ground to Air Dribble
-
Setup: Start from a defensive play with the ball on your backboard.
-
Execution: Pop the ball out, diagonal flip into the lower part of the ball, and air dribble across the map, getting a flip reset at some point.
Phase Three: Advanced Freestyle Shots
1. Double Reset Musty
-
Setup: Use rapid resets.
-
Execution: Get two resets using diagonal flips, then position for a backflip musty.
2. Musty Side Wall
-
Setup: Double jump off the wall for extra pop.
-
Execution: Land on the ceiling for a reset, control the musty, delay for power, then read the shot.
3. Quad Reset
-
Setup: Angle your car for small front flip resets.
-
Execution: Get multiple resets and maintain good position for the shot.
4. Amur Pop
-
Setup: Match the speed of the ball while falling.
-
Execution: Boost into the ball without holding accelerate, pop up, and then musty sidewall.
5. H Reset Chains
-
Setup: Focus on H resets.
-
Execution: Chain multiple resets by moving up and down without losing momentum.
6. 100 Flip Resets
-
Setup: Master the basic and H resets.
-
Execution: Chain resets while maintaining mental focus and composure.
7. Car Choice
-
Tip: Use the Dominus for freestyling, especially for resets.
Freestyling in Rocket League can be incredibly rewarding but also challenging. Whether you're just starting out or pushing the boundaries of what's possible, practice and persistence are key. Good luck, and happy freestyling! Check out our Rocket League guides to learn more useful tips!